Please begin by following this Link, which will direct you to the sign-in page for Evolve.
If you're unsure how to log in, follow this guide here.
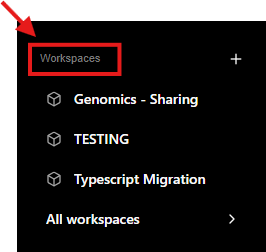
The Workspaces section is located in the left-hand navigation menu and provides quick access to your available workspaces.
You can:
Select a workspace name to open and view its content
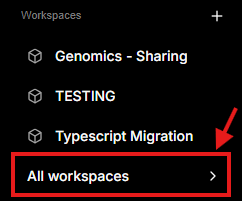
Select All workspaces to view the complete list of available workspaces
Use the + icon to create a new workspace
View All Workspaces
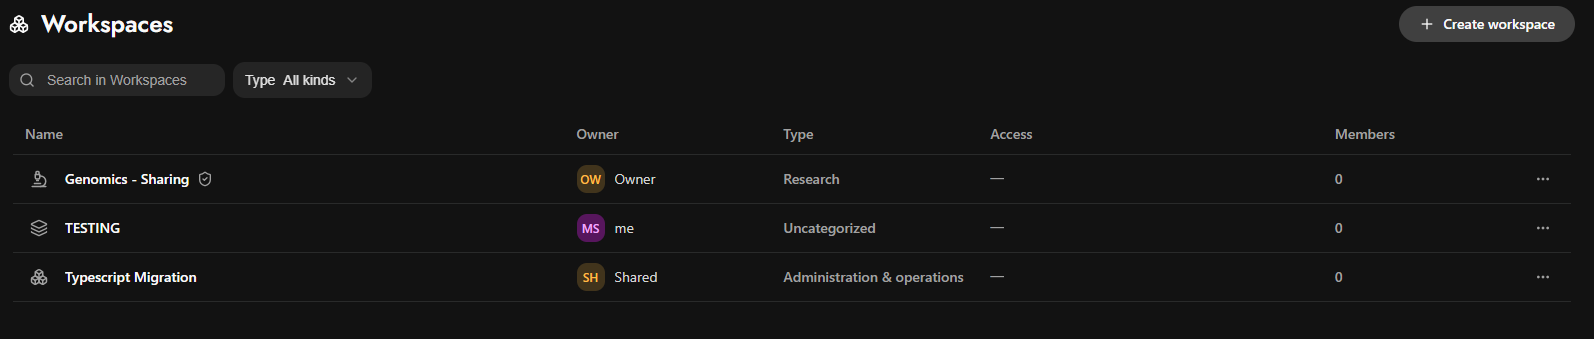
Select All workspaces from the left-hand navigation menu to view all workspaces available to you.
From this page, you can:
Search: find a specific workspace by name
Type: filter workspaces by their type/category
View key information for each workspace, including its Name, Owner, Type, Access, and number of Members
Select a workspace name to open it
Select Create workspace to create a new workspace
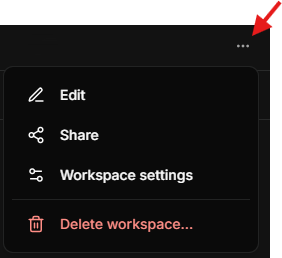
Use the three-dot menu (⋯) to access additional management actions
Available options include:
Edit: update the workspace details
Share: share the workspace with others
Workspace settings: access and manage the workspace settings
Delete workspace: delete the workspace
The actions at the top of the workspace remain available as you navigate between the different workspace tabs.
Available actions include:
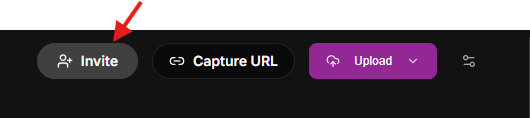
Invite: invite people to the workspace and manage their access
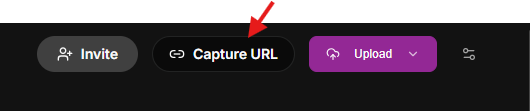
Capture URL: capture web content from a URL and add it to the workspace
Upload: upload files, folders, or site packages to the workspace
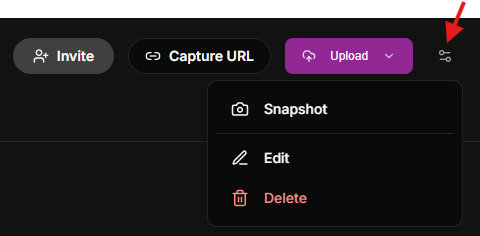
Workspace Options: access additional actions, including Snapshot, Edit, and Delete
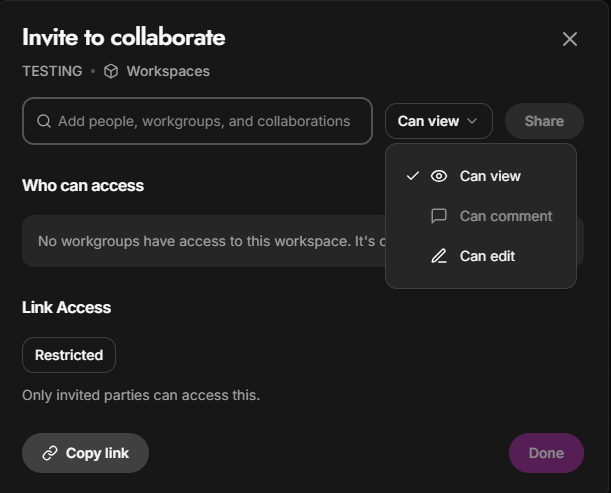
Select Invite at the top of the workspace to open the Invite to collaborate window.
From here, you can:
Add people, workgroups, or collaborations to the workspace
Can view: allow users to view workspace content
Can edit: allow users to edit workspace content
Who can access: view who currently has access to the workspace
Link Access: view the current link access setting
Copy link: copy a link to the workspace
Once the required access has been selected, select Share to invite the user.
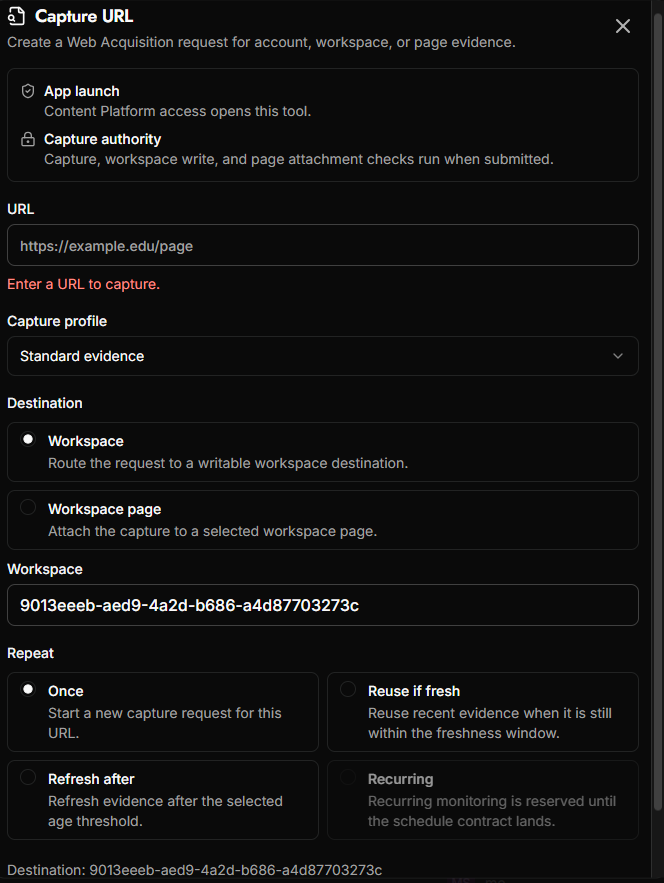
Select Capture URL to create a web acquisition and capture content from a URL into the workspace.
Enter the URL and configure the available options:
Capture profile: select the profile used to capture the web content
Destination: choose whether to send the captured content to the Workspace or attach it to a Workspace page
Workspace: displays the workspace where the captured content will be added
Once: start a new capture request for the URL
Reuse if fresh: reuse recently captured content when it is still within the specified freshness window
Refresh after: capture the content again once the specified refresh threshold has been reached
Recurring: schedule recurring captures when this option becomes available
For Reuse if fresh and Refresh after, the displayed values can be adjusted according to how recently the content should have been captured or when it should be refreshed.
Select Capture URL to submit the request.
Upload content to the workspace.
Select the dropdown arrow next to Upload to view the available upload options.
Available options include:
Upload files: upload one or more files from your device
Upload folder: upload an entire folder and its contents
Upload site: upload a site package to the workspace
Uploaded content will be added to the current workspace.
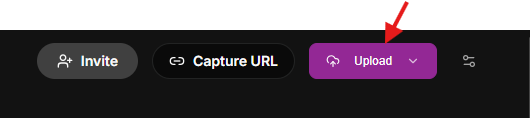
Select the options icon next to Upload to access additional workspace actions.
Available options include:
Snapshot: capture and save the current state of the workspace. The snapshot can be used later to restore the workspace to that saved state.
Edit: update the workspace details
Delete: permanently delete the workspace
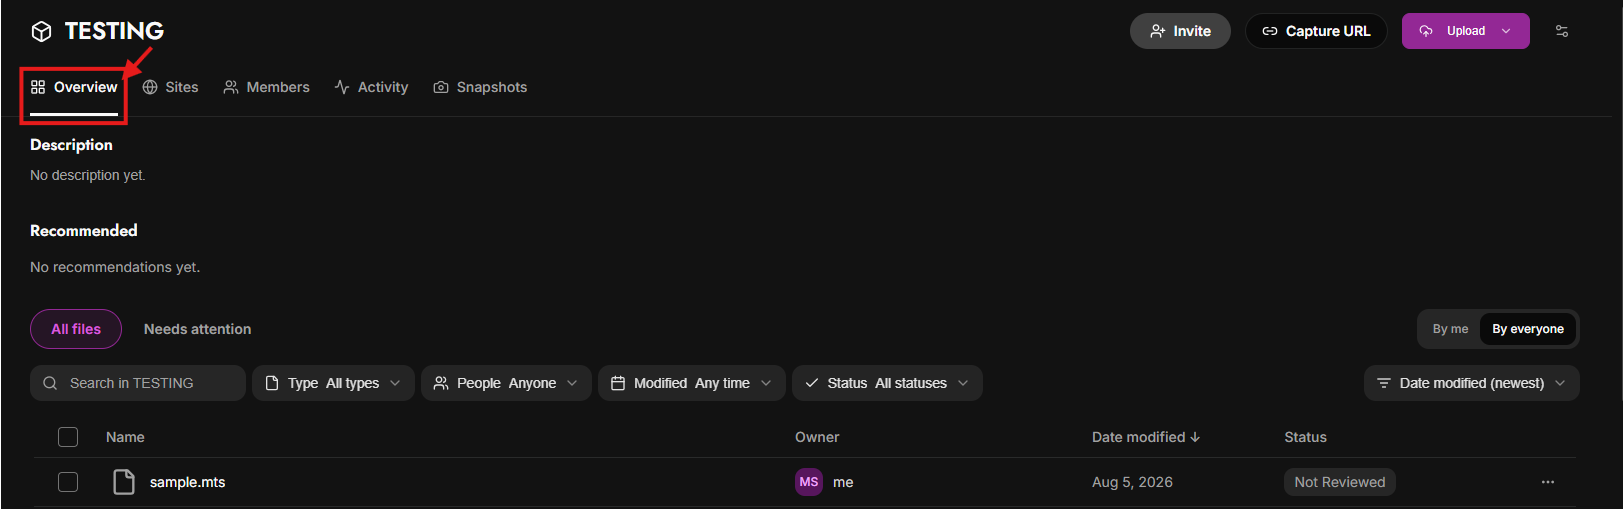
The Workspace Tabs allow you to navigate between the different areas of a workspace. Use the tabs to access the Overview, Sites, Members, Activity, and Snapshots sections.
Select a workspace name to open it.
The Overview tab is displayed by default and shows the workspace content and available options.
The Overview includes:
Description: displays the workspace description, if available
Recommended: displays recommended content, if available
All files / Needs attention: switch between all workspace files and items that may require attention
By me / By everyone: view content added by you or by everyone in the workspace
Search and filters: find content and filter by Type, People, Modified, and Status
Sort: change the order in which content is displayed
Content list: displays the Name, Owner, Date modified, and Status of each item
File options (⋯): access additional actions for an individual file, including Preview, Share, Rename, Copy link, Copy public link, Download, and Delete
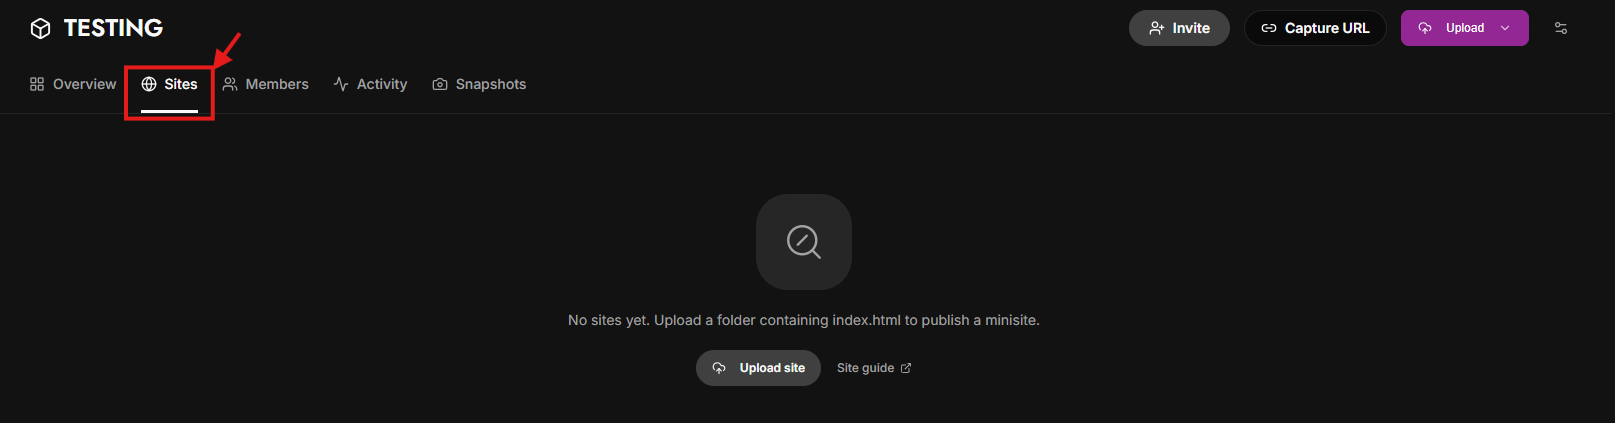
The Sites tab displays sites associated with the workspace. If no sites have been added, the page will appear empty.
Select Upload site to upload a site package to the workspace. You can also select Site guide for additional guidance on preparing and uploading a site.
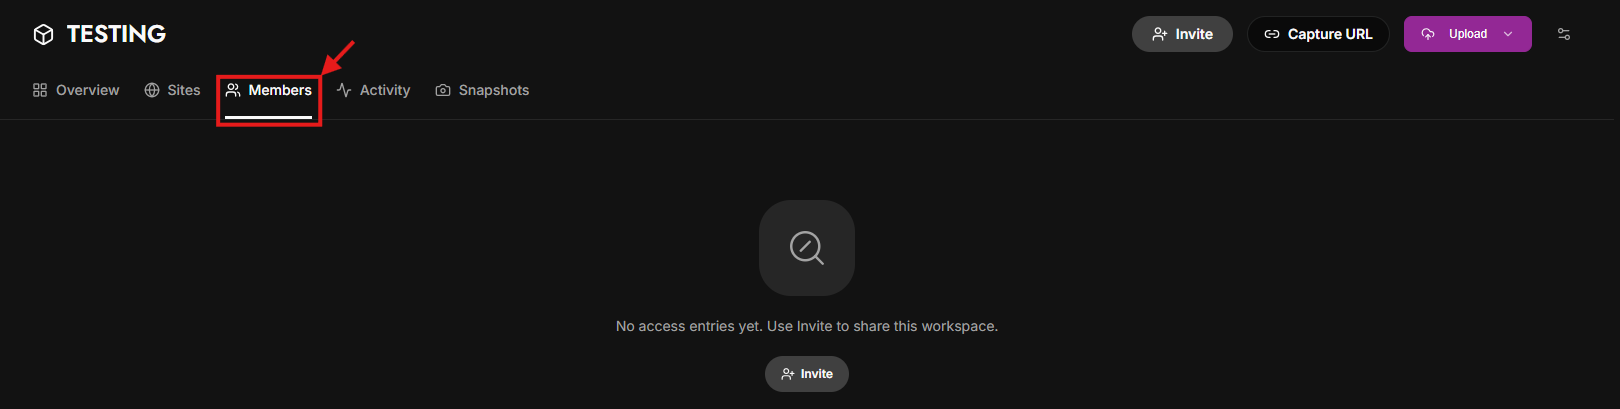
The Members tab displays the people and workgroups that have access to the workspace. If the workspace has not been shared, the page will show no access entries.
Select Invite to add people, workgroups, or collaborations and assign the appropriate access level.
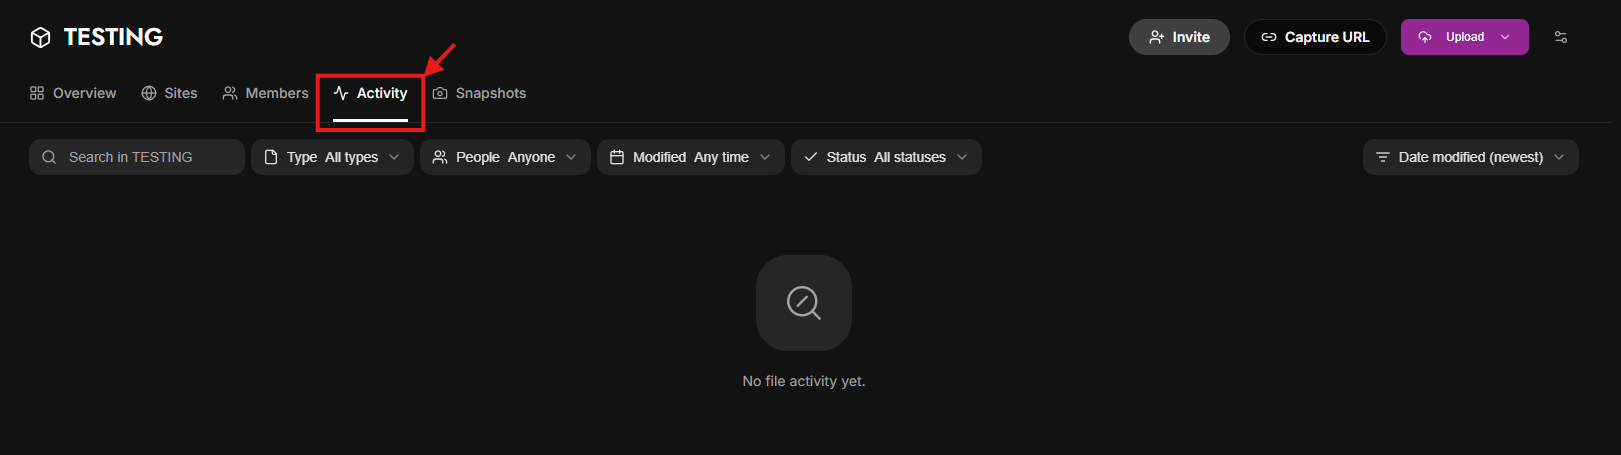
The Activity tab displays activity related to files within the workspace. If no activity has been recorded, the page will appear empty.
Use the search, filters, and sorting options to find specific activity by Type, People, Modified date, or Status.
The Snapshots tab displays snapshots created for the workspace. Snapshots capture the current state of the workspace and can be restored later.
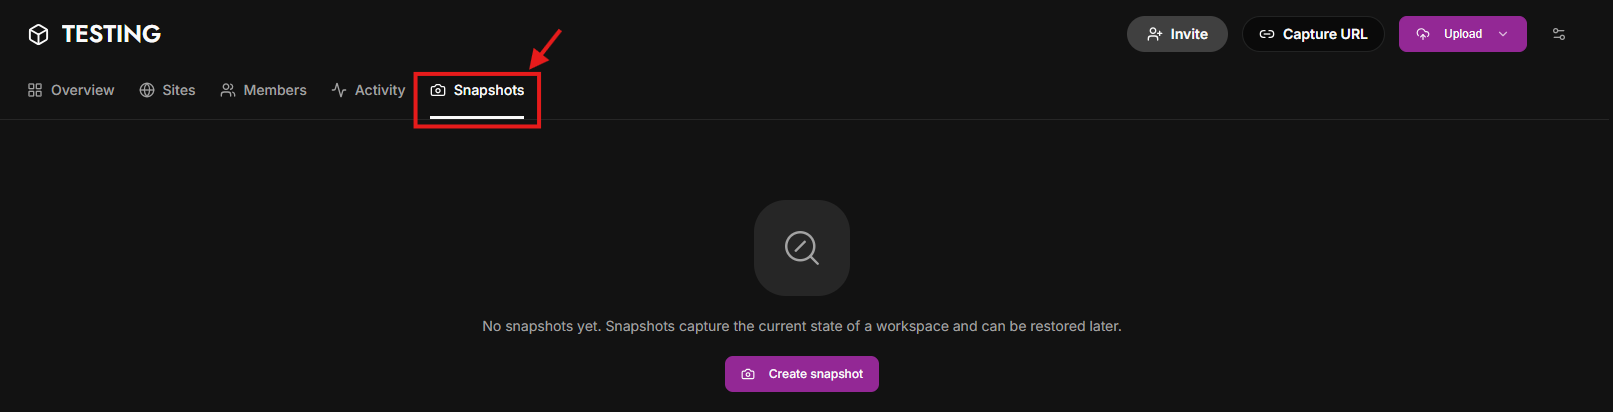
Select Create snapshot to create a new snapshot.
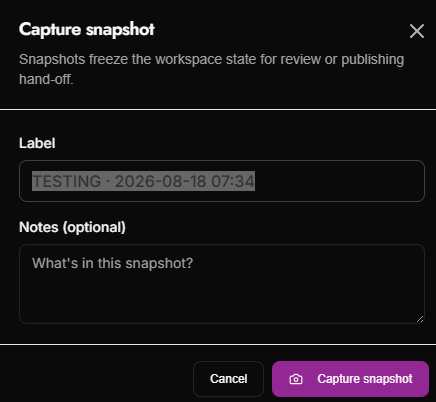
When creating a snapshot:
Label: displays the snapshot name, which can be adjusted if needed
Notes (optional): add information describing what is included in the snapshot
Select Capture snapshot to save the current state of the workspace.
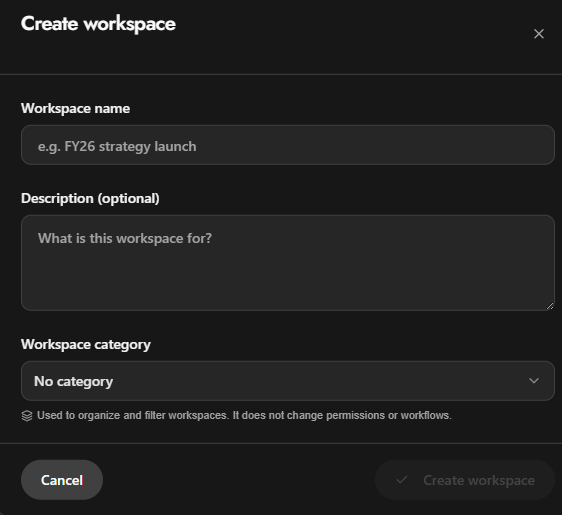
Select the + icon next to Workspaces in the left-hand navigation menu. The Create workspace window will appear.
Enter the workspace details:
Workspace name: enter a name for the workspace
Description (optional): add a brief description of the workspace and its purpose
Workspace category: select a category to help organize and filter your workspaces. This does not affect permissions or workflows
Once the required information is entered, select Create workspace to create the workspace.
How to open a file: please use this guide here.