Please begin by following this Link, which will direct you to the sign-in page for Evolve.
If you're unsure how to log in, follow this guide here.
Download the site creation skill through here.
After downloading the provided Site package, open both Claude and Codex.
Make sure you are signed in before continuing.
After signing in, you should see the Claude chat screen.
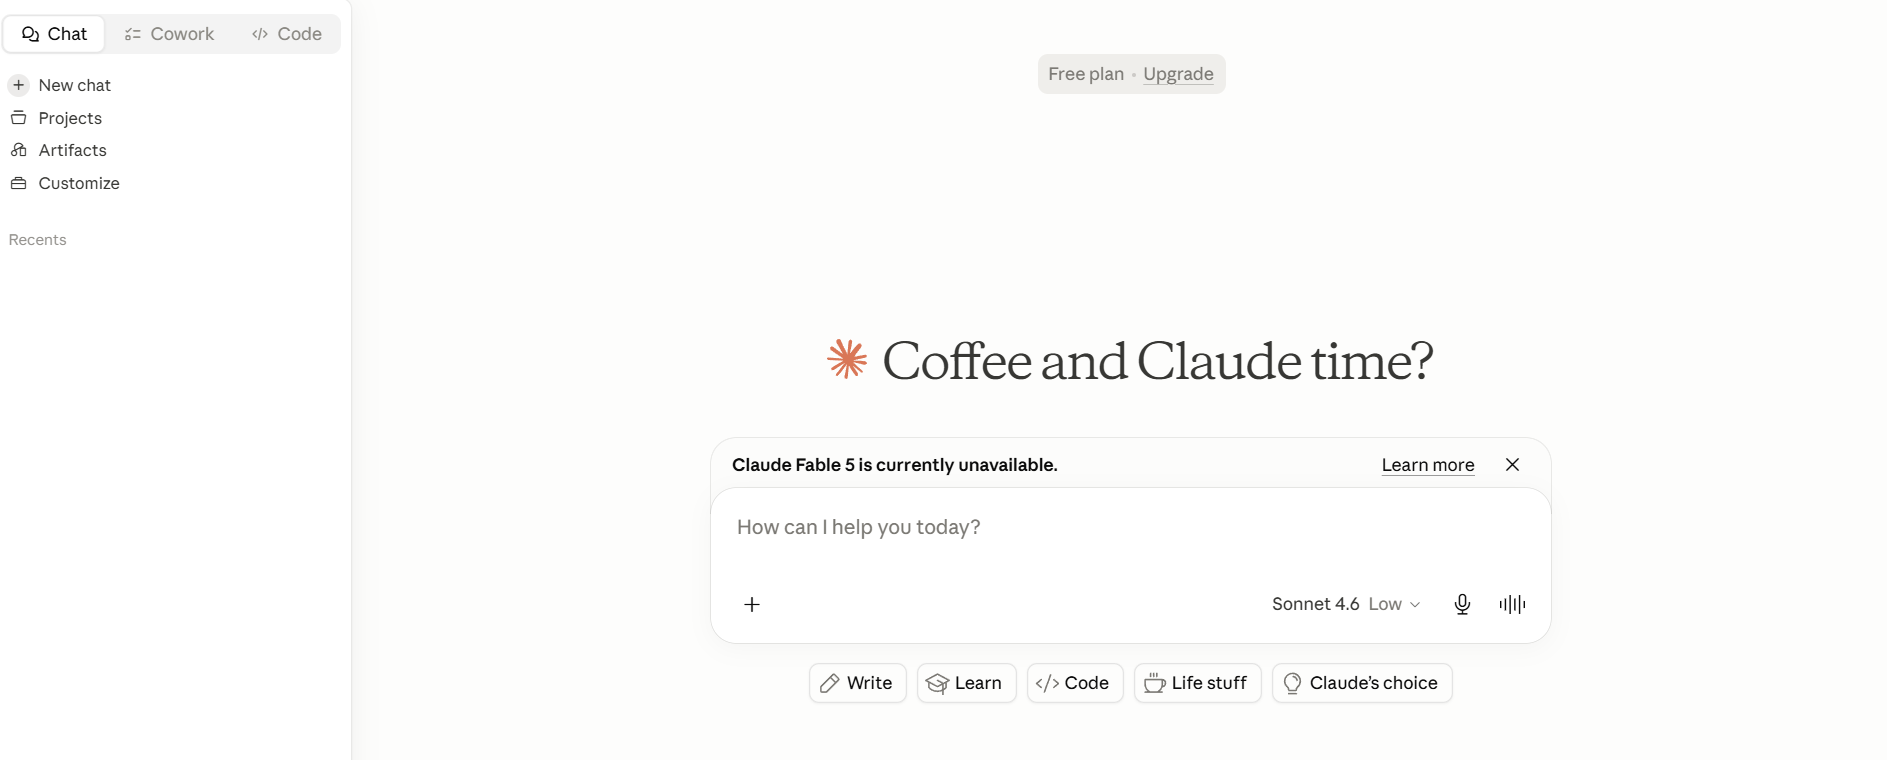
You only need to add the skill once. After the skill is added and turned on, you can use it again for future site creation tasks.
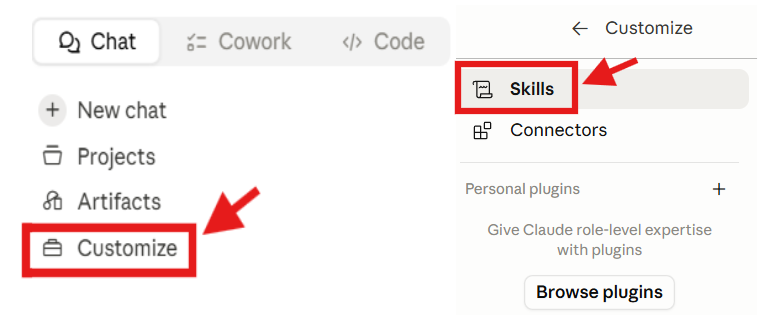
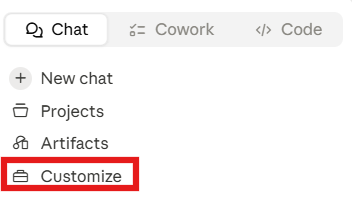
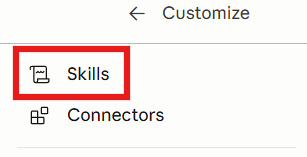
In Claude, click Customize in the left sidebar. On the Customize page, select Skills.
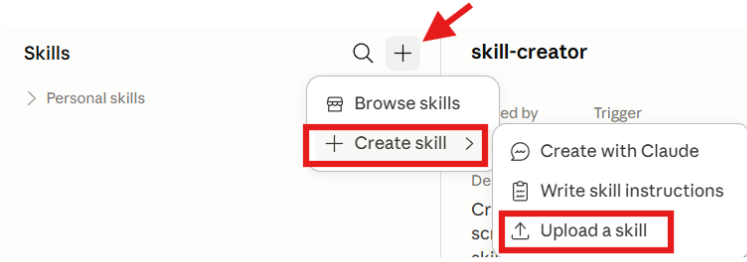
On the Skills page in Claude, click the + button near the top of the screen.
From the dropdown menu, select Create skill.
Then select Upload a skill.
This option allows you to upload the Site Skill ZIP file provided by your team.
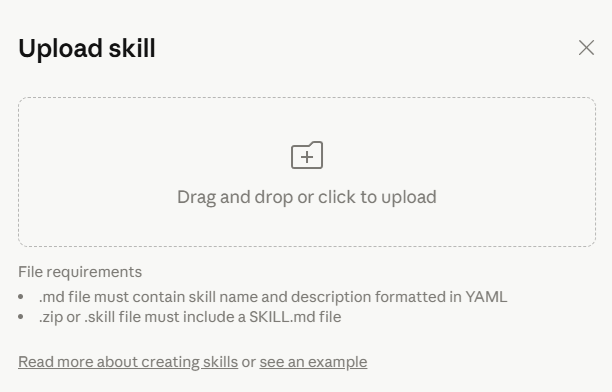
Confirm that the skill toggle is turned on and ready to use.

Confirming That the Skill You Added Is Enabled
Click Customize from the left sidebar.
On the Customize page, click Skills.
Confirming that the skill is enabled by checking that the toggle in the top-right corner is turned on.

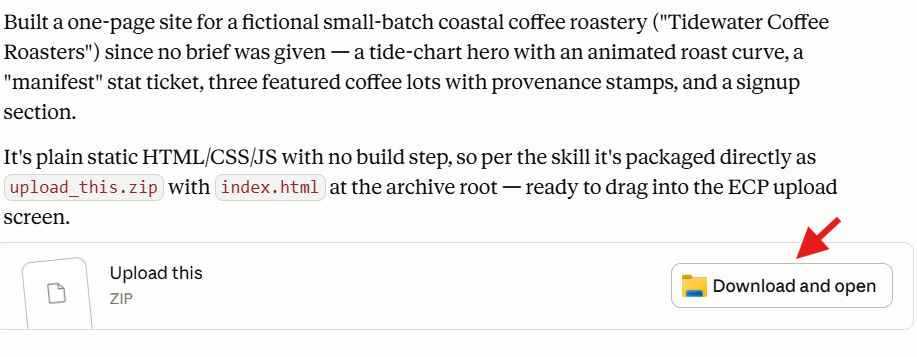
Click Download and open to download the generated ZIP file.
After signing in, you should see the Codex chat screen.
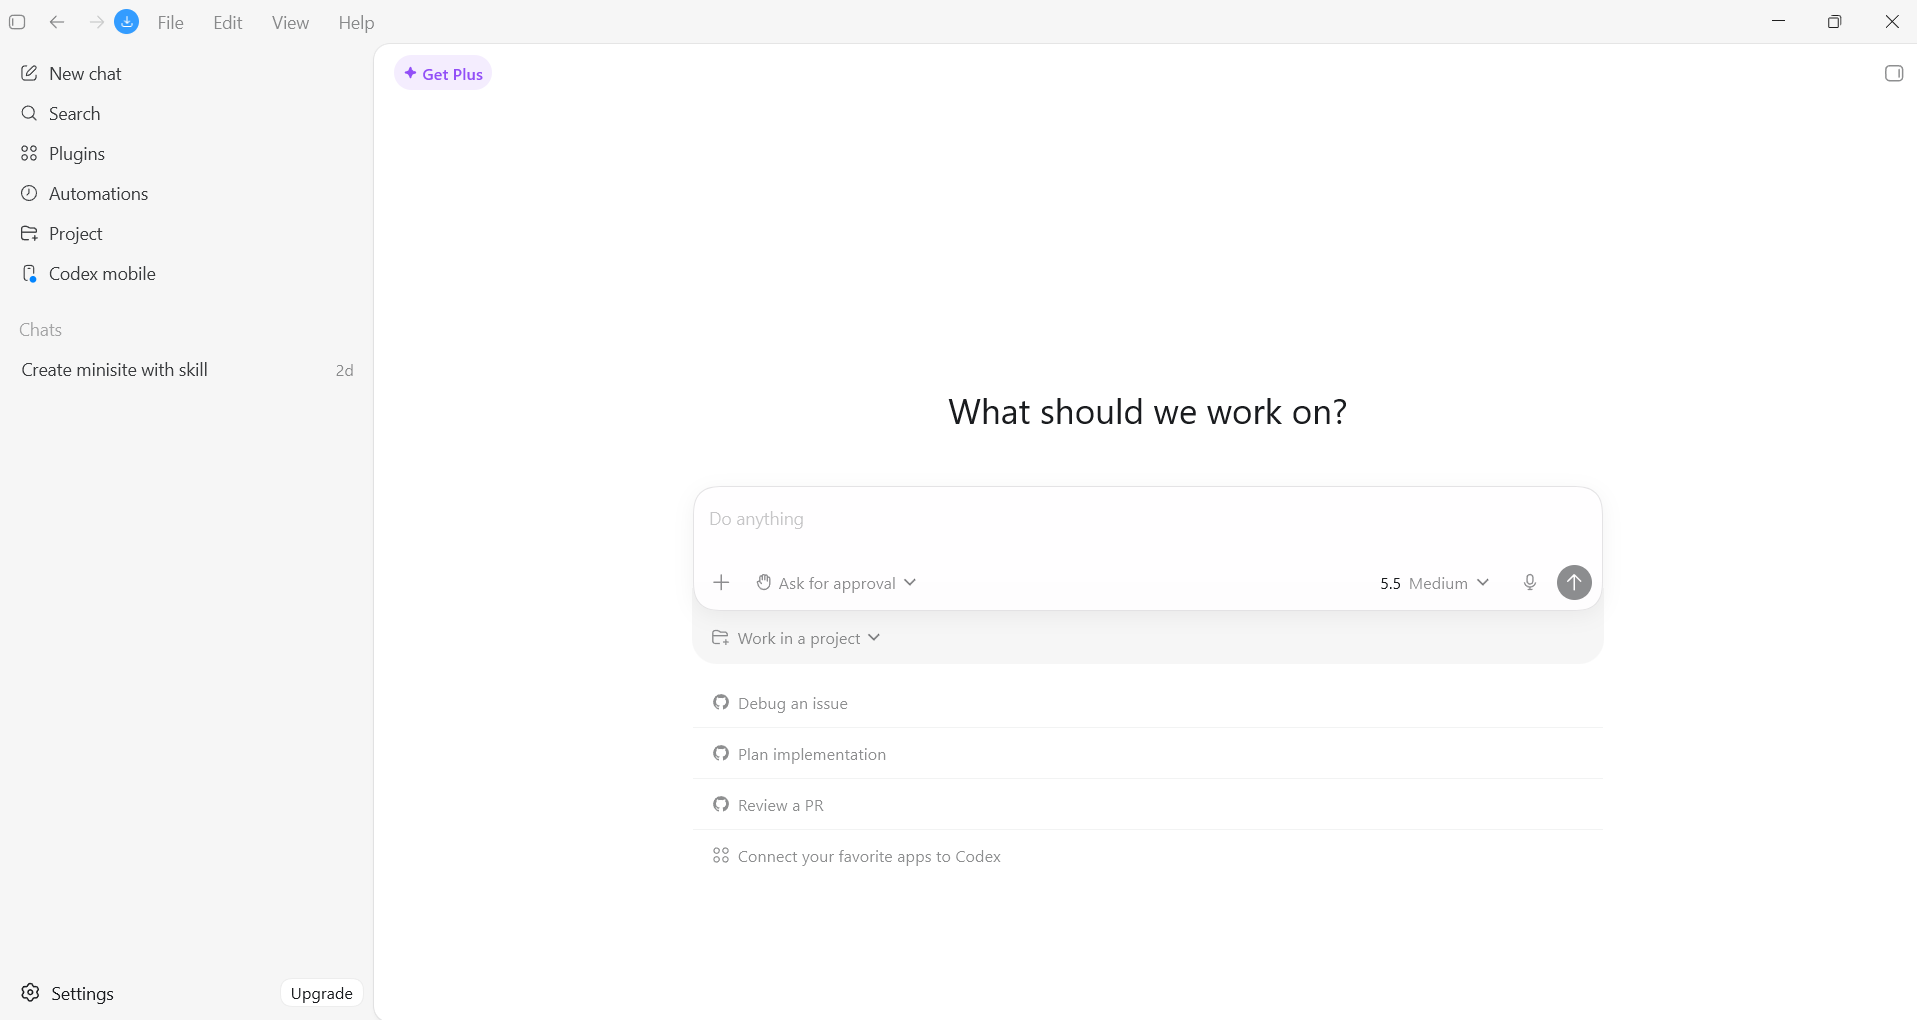
You only need to add the skill once.
On the left side of the screen, find the main navigation sidebar.
Click Plugins in the sidebar menu.
At the top of the page, click the Skills tab. Click the plus button in the top-right corner of the page.

This screen appears when you are ready to add a skill.
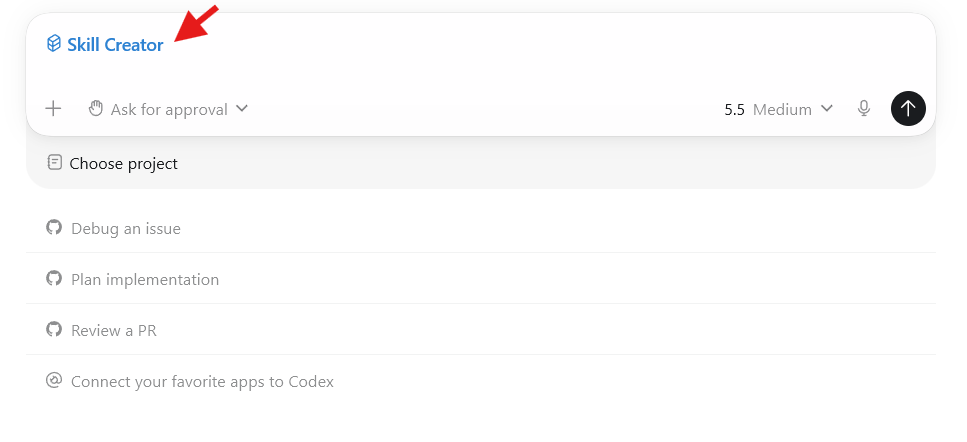
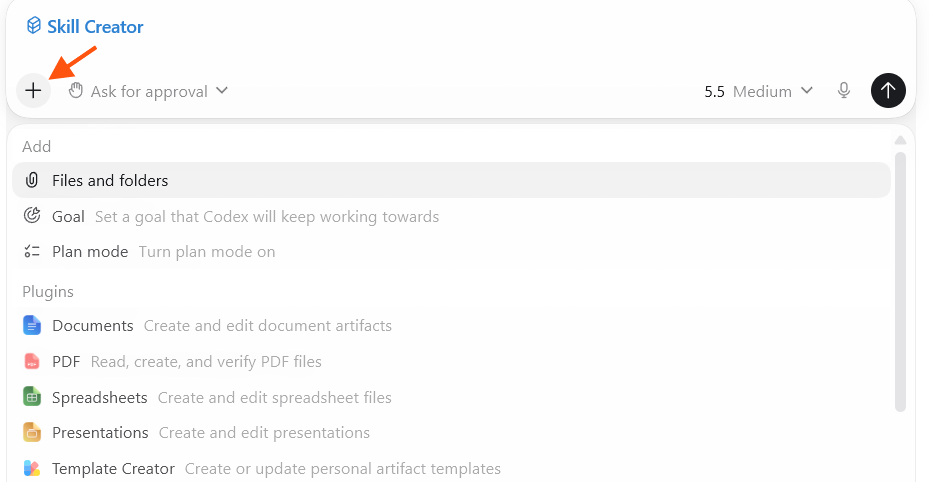
Click the plus button on the left side of the message box.
From the menu that appears, select Files and folders.
Choose the skill ZIP file from your computer and upload it.
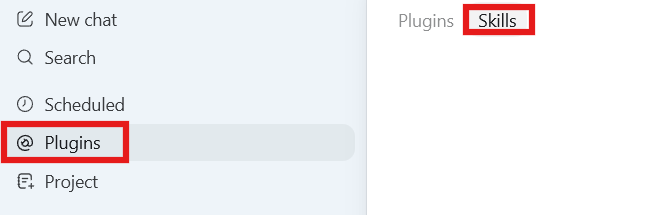
From the left sidebar, click Plugins.
Then, at the top of the page, select the Skills tab.
On the Skills page, look under the Installed section.
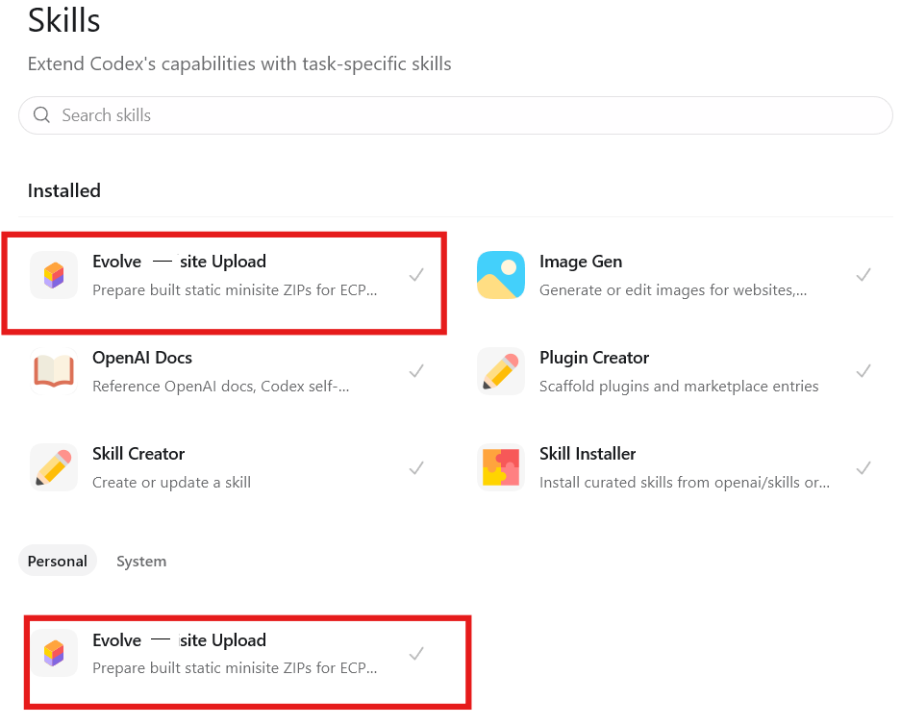
Click the skill to open its details page.
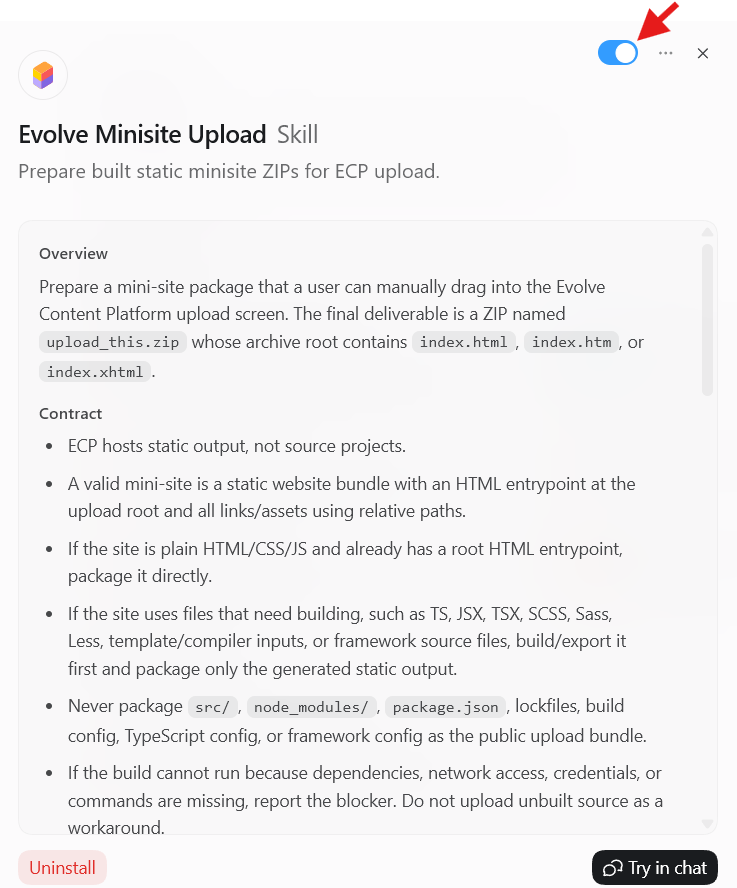
On the skill details page, check the toggle button in the top-right corner.

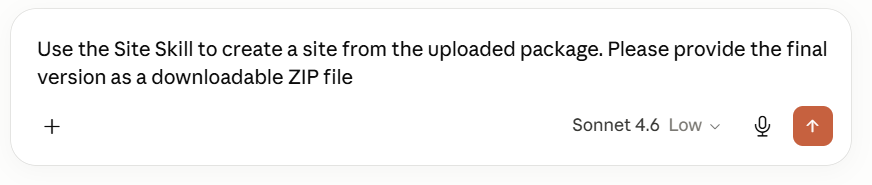
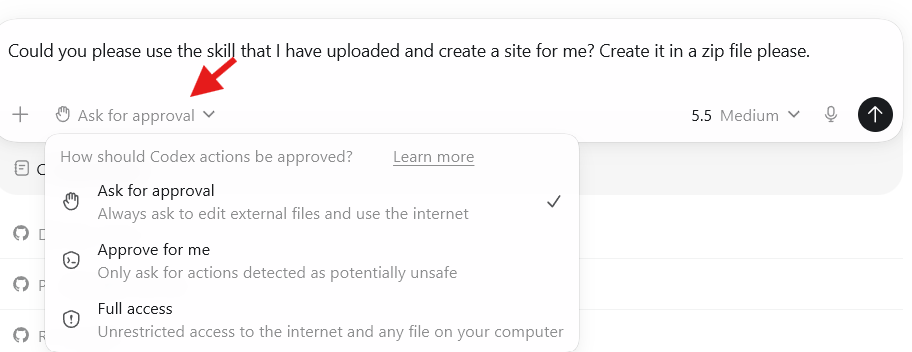
Before sending the request, you may click the approval setting dropdown near the bottom of the message box. You can leave the default option unchanged if you do not need to adjust it.
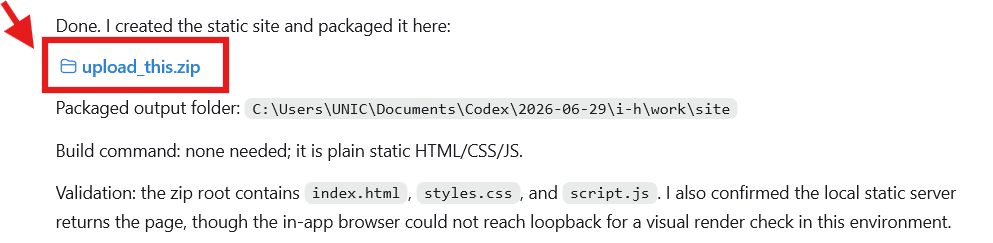
Click upload_this.zip to download the packaged site file.
After downloading the generated ZIP file from Claude or Codex, return to the Site upload platform.
Open Content Platform application.
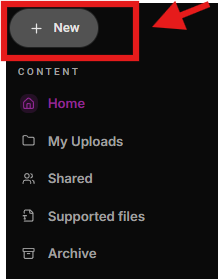
On the left side of the screen, click + New.
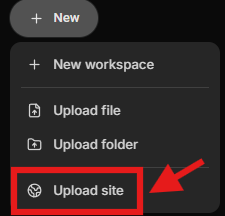
After clicking + New, users should select Upload site from the dropdown menu.
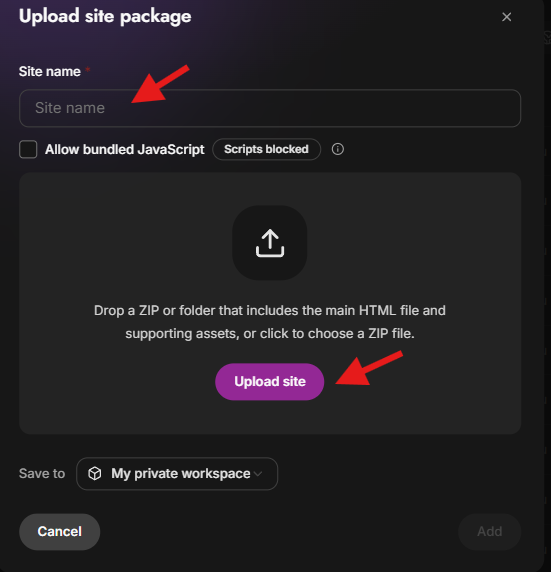
Review the Upload and Click Add
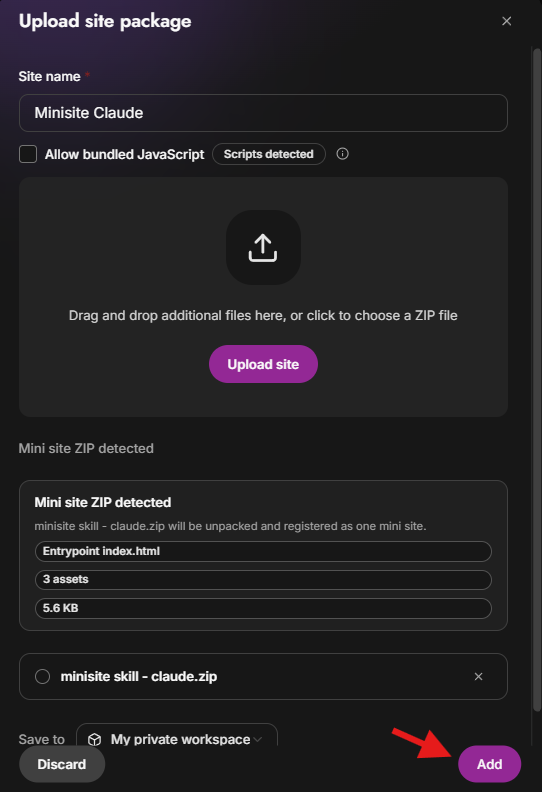
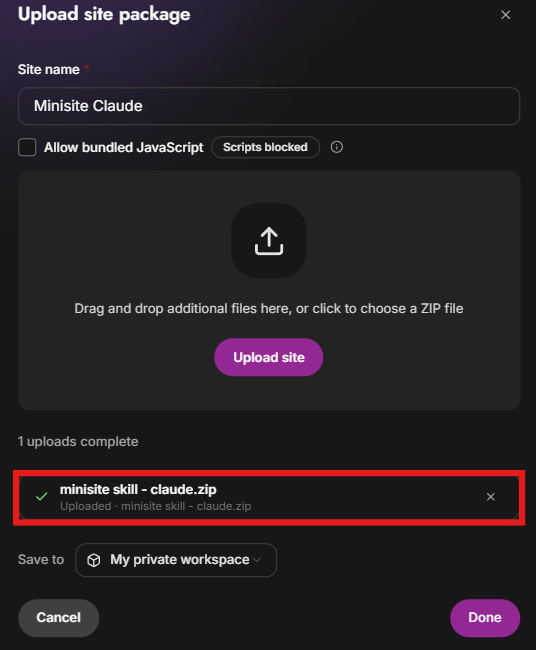
Confirm the Uploaded ZIP File and Click Done
After uploading the generated ZIP files, return to the workspace list.
Confirm that the uploaded Sites appear in the list. In this example, there are two uploaded Sites:

Click the site name to open the site directly, or click elsewhere on the row to open the file details.